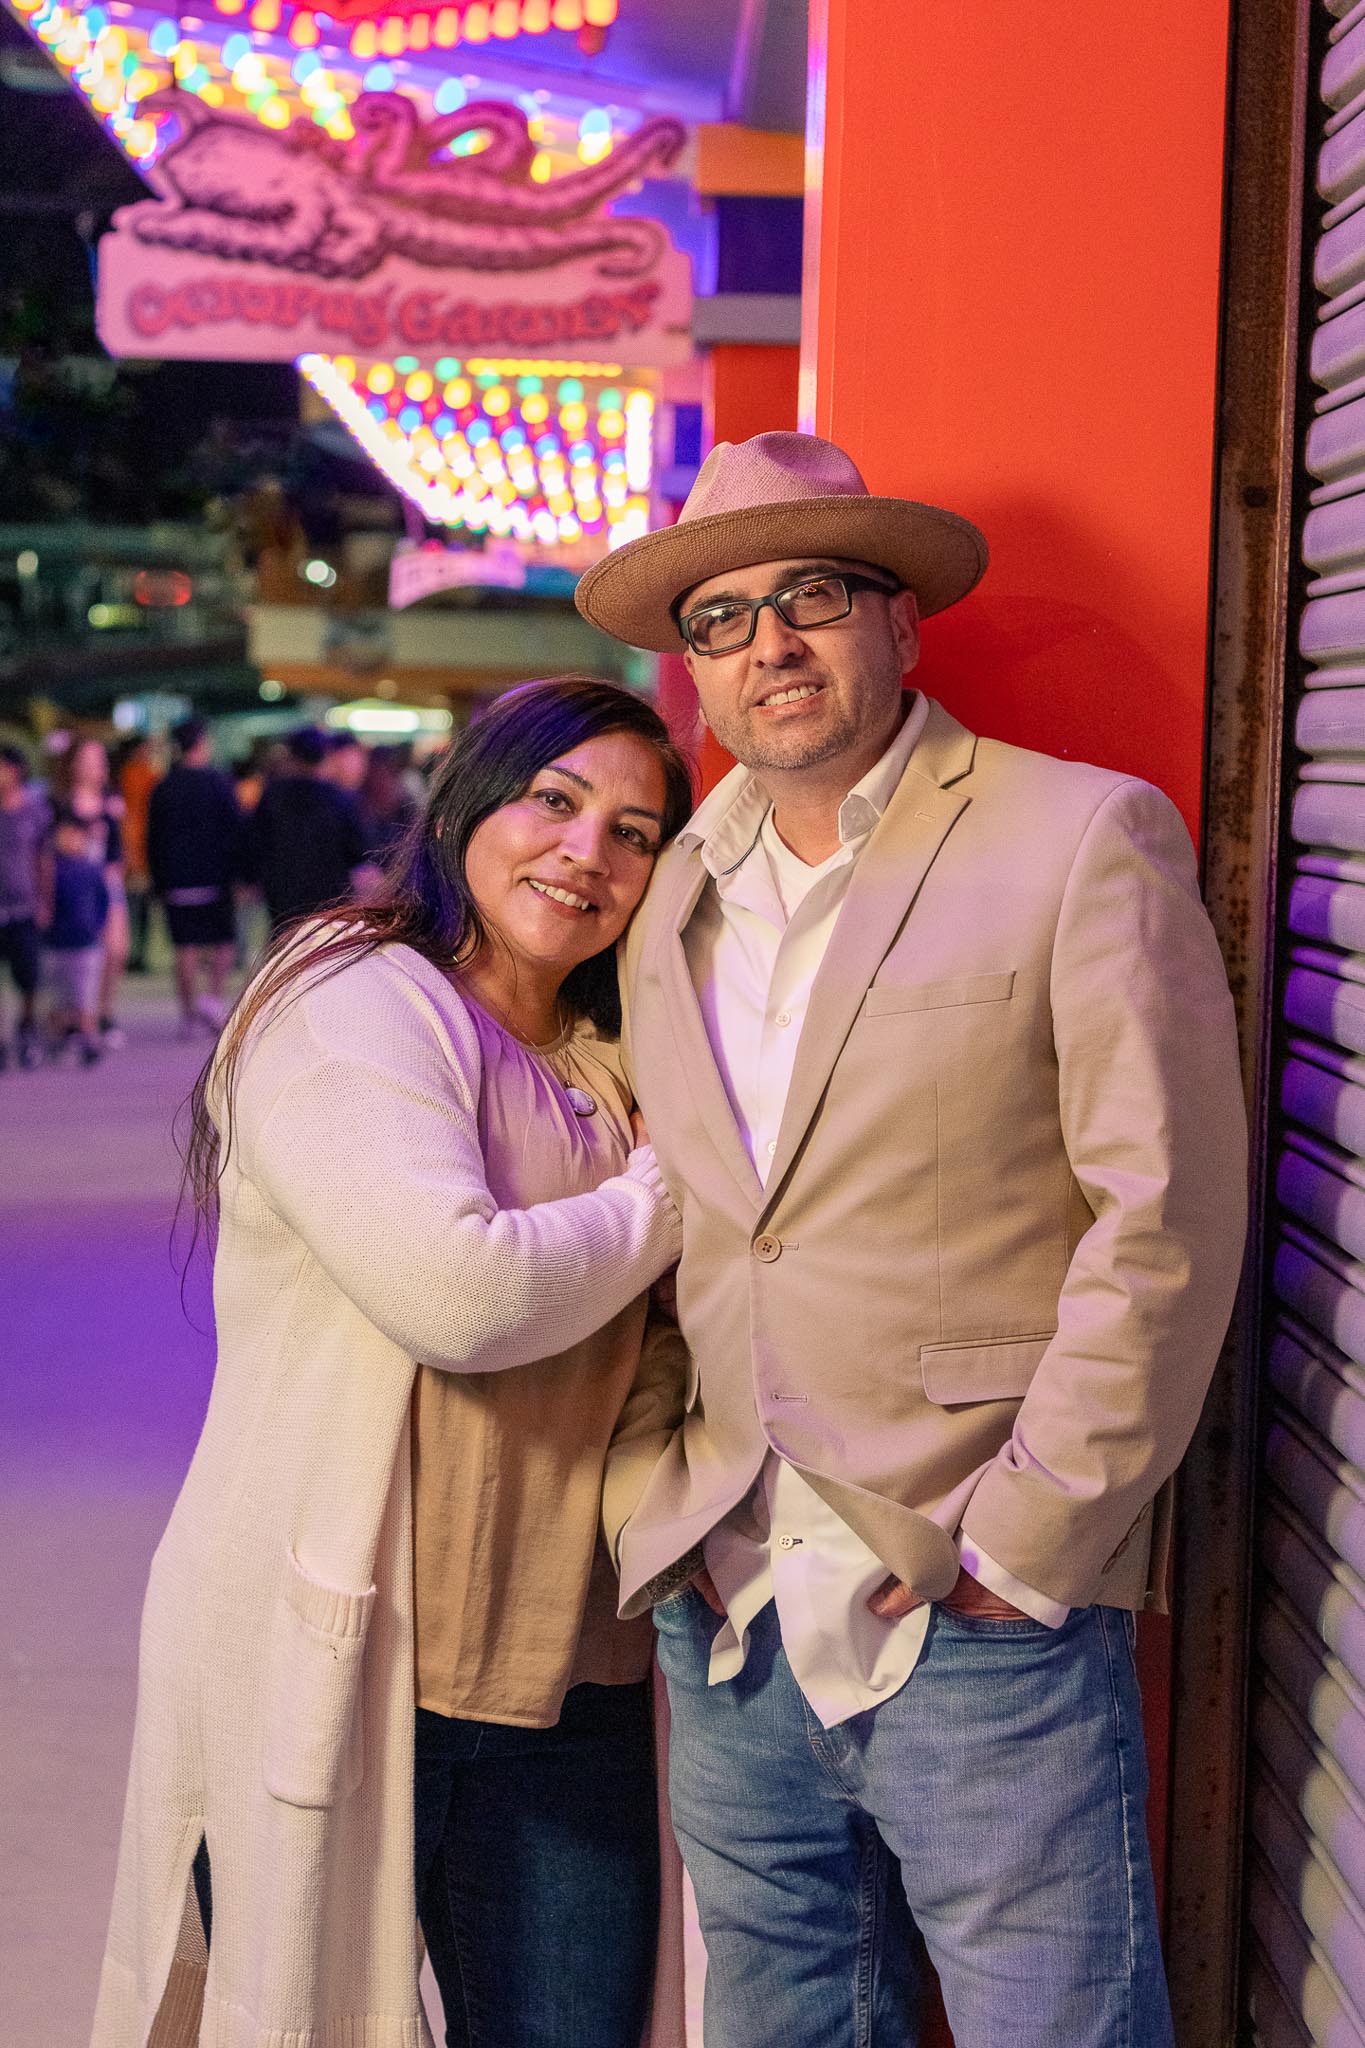
Sometimes editing photos can feel like a daunting task for a beginner, especially if you overshoot an have a ton of photos to sift through. Here are my tips for setting up your photo editing workflow.
Edit Photos On A Big Screen
After a photoshoot I like to view the pictures on my desktop to get better look at the photos. Viewing them on a phone or tablet can give a false impression of clarity since the screen is so small. Using a desktop allows you to get a nice overview without having to zoom in to check if the anything is out of focus. Editing on your phone is fine for social media use, but client work is best done on a computer.

Cull Your Photos
The next step is to rate and sort through the photos that are the best. I like to first import the photos into Lightroom classic then rate the photos I want to keep as 3 stars. This is the first cull. I will then go back through a second time and give the very best photos a 5 star rating. Lightroom allows you to filter through different star ratings. This will also be determined by how many photos you’re contracted to send to your client. It can be a challenge to narrow down the photos, but keep in mind what your client is using these photos for, and which would best suit the client’s need. Choose shots that have a variety of poses, good smiles, good eye contact, and backgrounds that are not distracting. Any photos that did not get a 3 star rating you can delete from the Lightroom program as they wont be needed.
Use Presets To Speed Up Photo Editing
Now its time to begin editing your photos. I like to use Adobe Lightroom Classic because it allows me the most flexibility in editing my RAW photos. It also allows you to create custom presets. Most photo editing programs do come with presets, but they may not reflect the style of photo you want to create, which is why custom presets are so handy. If you have a group of photos that are taken in the same lighting and setting you will be able to use the same preset on the majority of those photos with just a few minor tweaks. This will save you a ton of time and will give your album a cohesive look.
So take a deep breath, and let’s start editing!

Sending Client Photos
After you are done editing your photos, you will want to have a process in place for getting your client their photos. There are many different ways to do this, so I want to share my personal experience with you. I send two sets of photos to the client:
1.) Photos for Print
2.) Social Share Photos
Currently I upload both file folders to a google drive link so that the client can download the files to their computer to print and do as they please with them. For the client to get an overview of the photos I create a Lightroom mobile gallery and send the client a link to view the gallery from. The Lightroom gallery is not meant for clients to download files from, but is meant for them to scroll through and enjoy looking at their photo session as a whole.
I have photographer friends who have recommended Pic Time to me. This platform allows the client to purchase photos from their gallery directly. This can be a huge benefit to the client if they want a one stop shop and don’t have a preference of where to order photos from.

